Complete AI Image Editing Workflow
AI has transformed image editing from a specialized skill into an accessible creative tool. Whether you're starting from scratch or enhancing existing photos, understanding the complete workflow helps you achieve professional results efficiently. This guide covers every step from concept to final output.
The Modern AI Image Workflow
A complete AI image editing workflow typically follows these stages, each building on the previous to create polished final results:
Concept & Planning
Define your vision, gather references, and outline requirements.
Generation
Create base images using AI prompts or upload existing photos.
Selection & Curation
Choose the best outputs from multiple generations.
Enhancement
Upscale resolution, improve quality, and fix imperfections.
Background Processing
Remove, replace, or modify backgrounds as needed.
Final Polish
Apply final adjustments, export in appropriate formats.
Stage 1: Concept & Planning
The most successful AI image projects start with clear planning. Before opening any tool, take time to define what you need:
- •Purpose: What will this image be used for? (Social media, print, website, etc.)
- •Dimensions: What aspect ratio and resolution do you need?
- •Style: What visual aesthetic are you going for?
- •References: Collect example images that inspire your vision.
Stage 2: Generation
With your concept clear, it's time to create. For AI-generated images, focus on crafting effective prompts. For existing photos, consider what enhancements they need.
From Scratch
Write detailed prompts covering subject, style, lighting, and composition. Generate 5-10 variations per concept.
From Photos
Upload your existing images. Identify what needs improvement: resolution, backgrounds, colors, or composition.

Stage 3: Selection & Curation
AI tools often produce surprising results — some better than expected, others missing the mark. Developing curatorial skills is essential:
- Generate multiple options before selecting
- Compare against your original vision and references
- Consider what can be fixed in later stages
- Save promising outputs even if not perfect — they might inspire variations
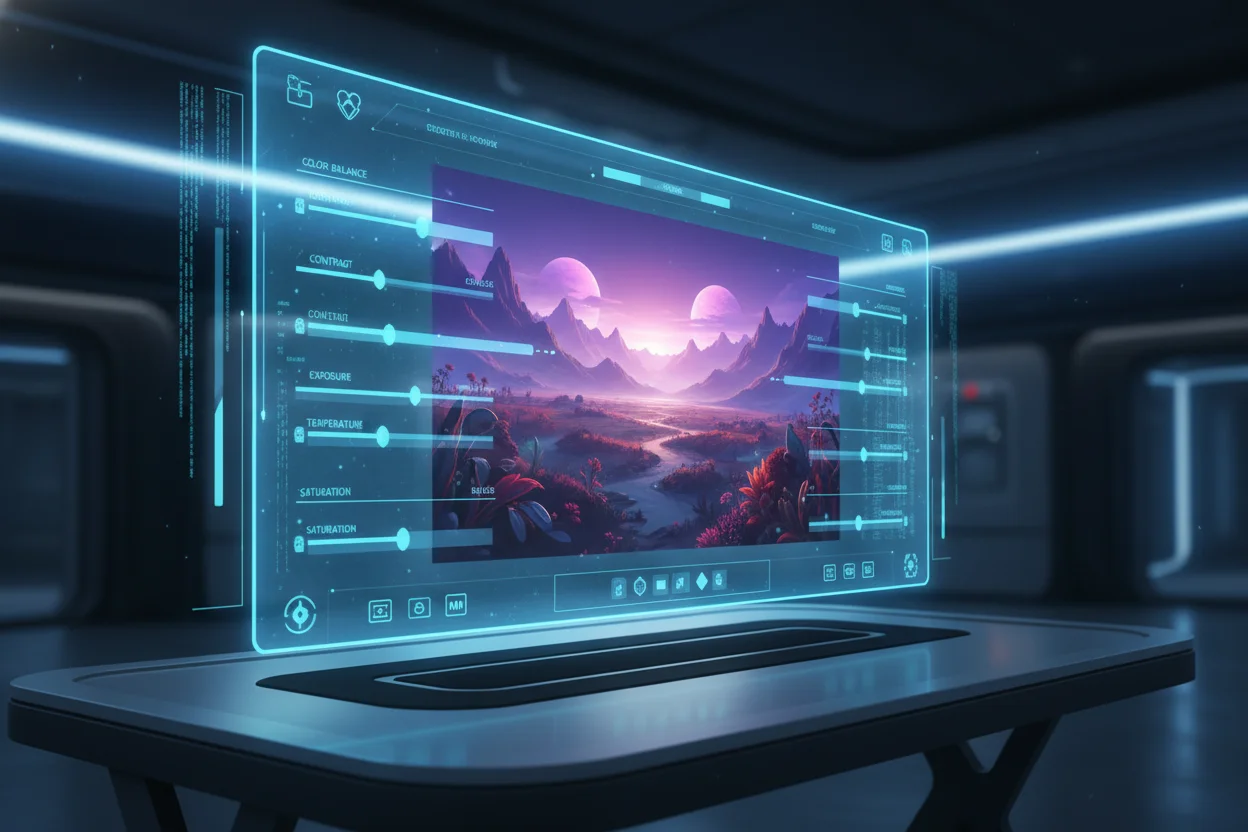
Stage 4: Enhancement
AI image enhancement tools can dramatically improve your selected images. Key enhancement techniques include:
🔍 Upscaling
Increase resolution up to 4x while maintaining or improving detail.
Quality Enhancement
Sharpen details, reduce noise, improve colors and contrast.
🩹 Artifact Removal
Fix AI artifacts, compression issues, and minor imperfections.
Color Correction
Adjust color balance, saturation, and overall color grading.
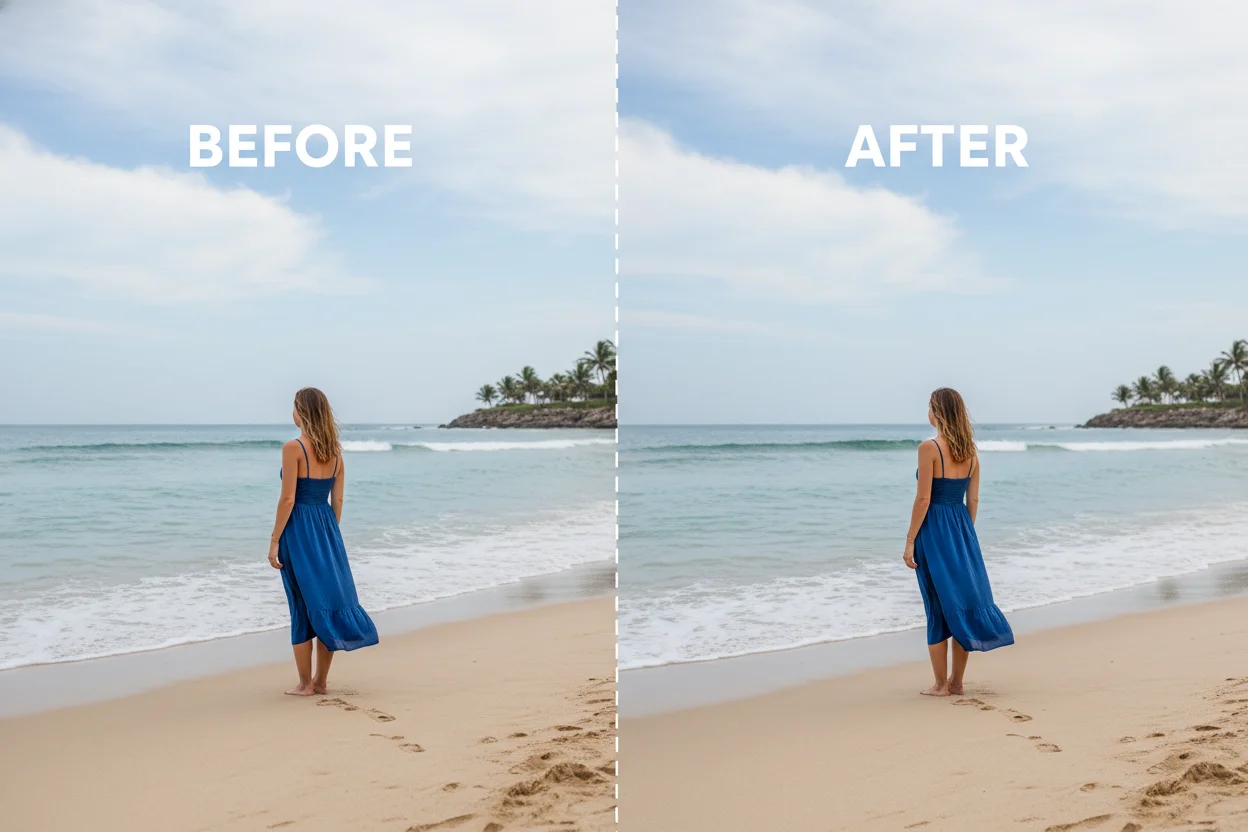
Stage 5: Background Processing
Background manipulation is one of the most common editing needs. AI tools excel at this:
- •Background Removal: Create transparent PNGs for use anywhere
- •Background Replacement: Swap backgrounds entirely
- •Background Blur: Create depth-of-field effects
Stage 6: Final Polish
The final stage involves preparing your image for its intended use:
- Export in the correct format (PNG for transparency, JPEG for web)
- Optimize file size without sacrificing quality
- Create multiple sizes if needed for different platforms
- Back up your work and original files
Putting It All Together
The beauty of this workflow is its flexibility. Not every project needs every stage — sometimes you'll generate and use an image directly; other times you'll spend most of your effort on enhancement and background work. The key is understanding all the tools available so you can apply them appropriately.